SellApp Docs

Comprehensive documentation for the SellApp platform

Introduction

Getting started

SellApp makes it a breeze to set up a highly customizable storefront and automatically sell your digital products online. In the event something on the platform is not clear, this documentation should be able to help. Here's a few good starting points

Starter Guide

Step-by-step guide to setting up your very first storefront.

Supercharge Store

Take advantage of advanced features to supercharge your storefront.

Extend

Extend SellApp to your own site via embeds, SDK's, or third-party plugins.

API Reference

Utilize our comprehensive API to interact with & build on top of our infrastructure.


Starter guide

Starting to sell on SellApp is as easy as can be, with a three-step process that should take no more than a minute:

  1. Sign up (1-click with Google)
  2. Create your first storefront
  3. Start listing your products

And that's it! Your customers will then be able to visit your store and make purchases, while our platform automatically handles all the difficult parts; payment processing, product delivery, security, and much more.


Signing Up & Creating a storefront

You can create a SellApp account and storefront in seconds.

Click here to go to our registration page and fill in the requested details, or opt to register with your Google account.

Heads Up

SellApp is built for creators, entrepreneurs, gamers, and anyone else looking to sell digital goods. However, we (obviously) don't cater to individuals looking to sell illegal products or disallowed goods listed on our Acceptable Use Policy.


Creating a storefront

During the sign-up process, you will be able to immediately create a store as well. We only ask for three bits of information in order to setup your storefront:

  1. The name/title you'd like to give your store
  2. A unique subdomain URL, which will be where your customers can visit your store
  3. Your store's visibility. By default, this is set to public, but you're welcome to change this to hidden or private if you prefer.

So you know

Both points 1 and 2 can be changed further down the line. To prevent abuse and protect customers, we're not making it possible to change a subdomain at this time.

The entire creation process should take no longer than a minute or two, most of which will probably be spend pondering about your store name and URL!


Listing your products

Now that you've signed up and created a storefront, you're almost ready to start listing products.

First up you'll want to add at least one payment method. You can add a payment method in your storefront settings, or by clicking here to go to your payment settings.

So you know

Payments made by customers are instantly sent to your linked payment account(s). We do not hold your funds, so you don't need to worry about payments being withheld or estimating when a payment will be deposited to your account.

After you've linked a payment method, you can immediately list products. Here's a preview of how that looks:

The product creation flow


Welcome to the community

Congratulations and welcome to the SellApp community! We hope you like the platform as much as we like working on improving it 🎉

You've signed up, created a storefront, and listed your first product(s).

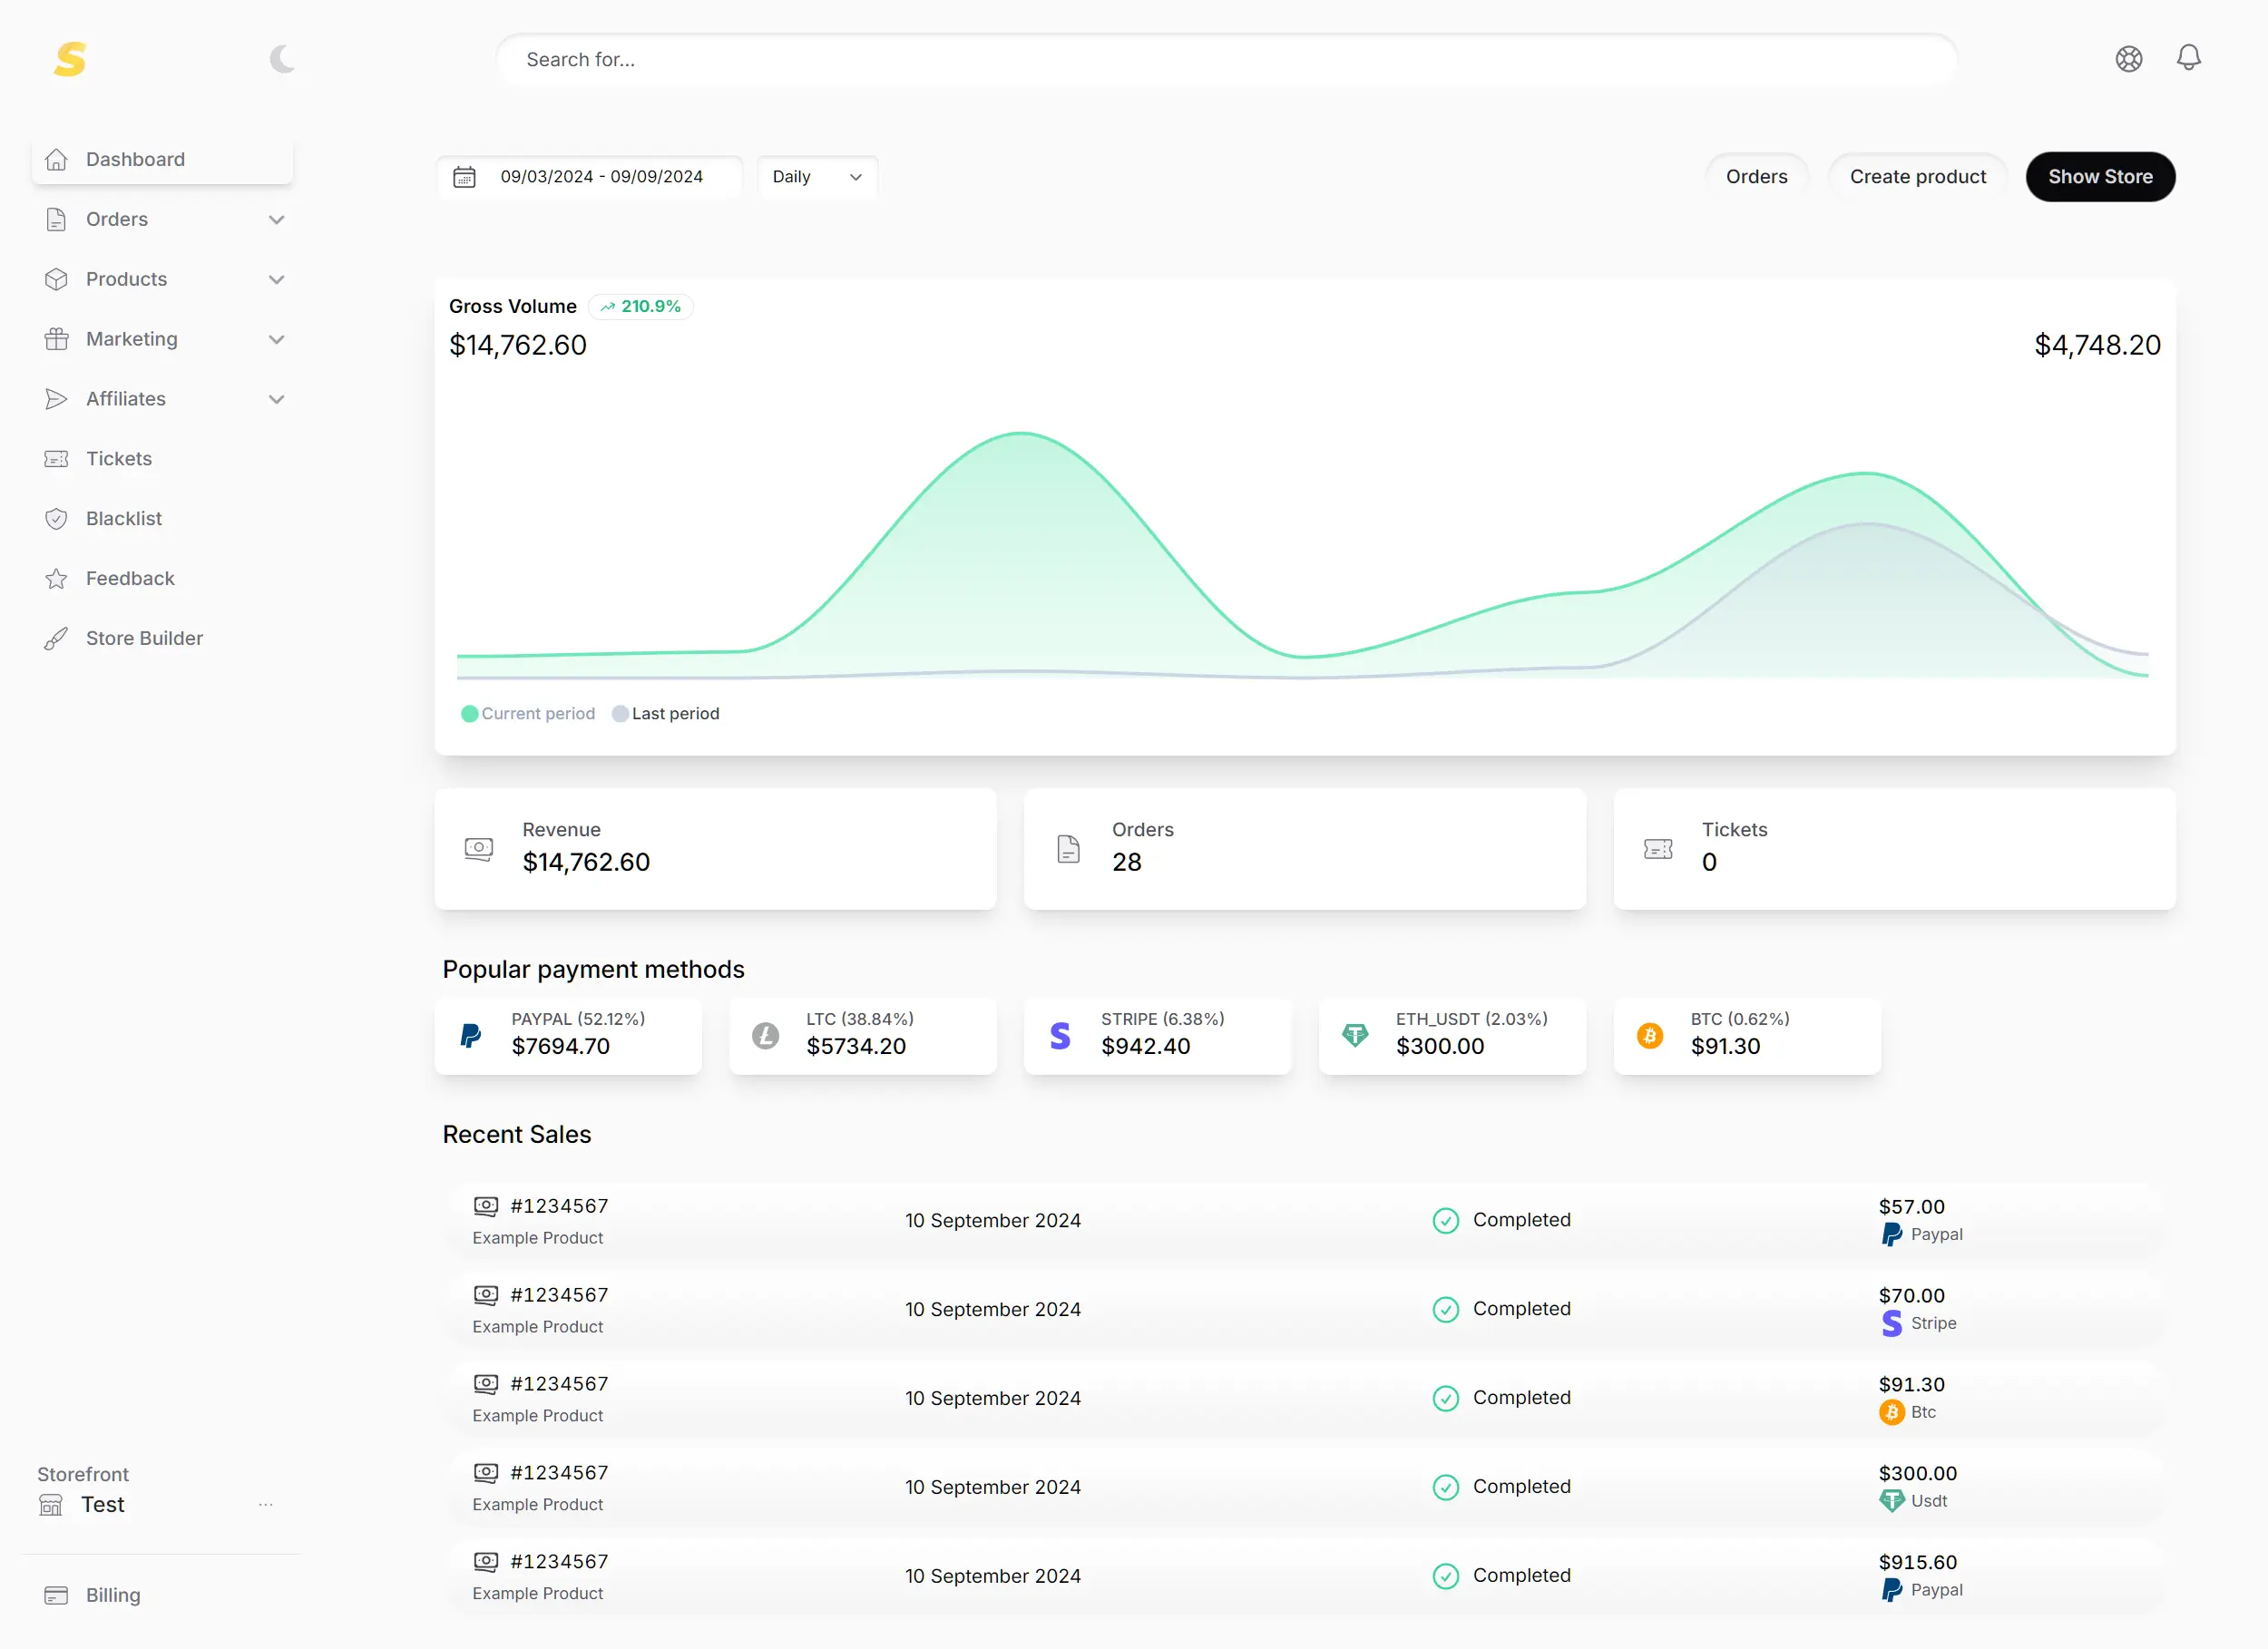
From here, the sky's the limit. Add more payment methods, completely customize your storefront with our storefront builder, run marketing promotions, and start earning the easy way.

If you need any help, we're a click of a button away.